Mold cost is a one-time investment that affects every part produced afterward. A well-designed tool reduces scrap, shortens cycle time, and maintains dimensional consistency across batches. This article explains the main cost factors and how to plan tooling costs based on production volume.
Why Mold Costs Have No Standard Price List
Mold pricing varies because each tool is built for a specific part. Part size, geometry, material, tolerances, and production volume all affect tooling requirements and cost.
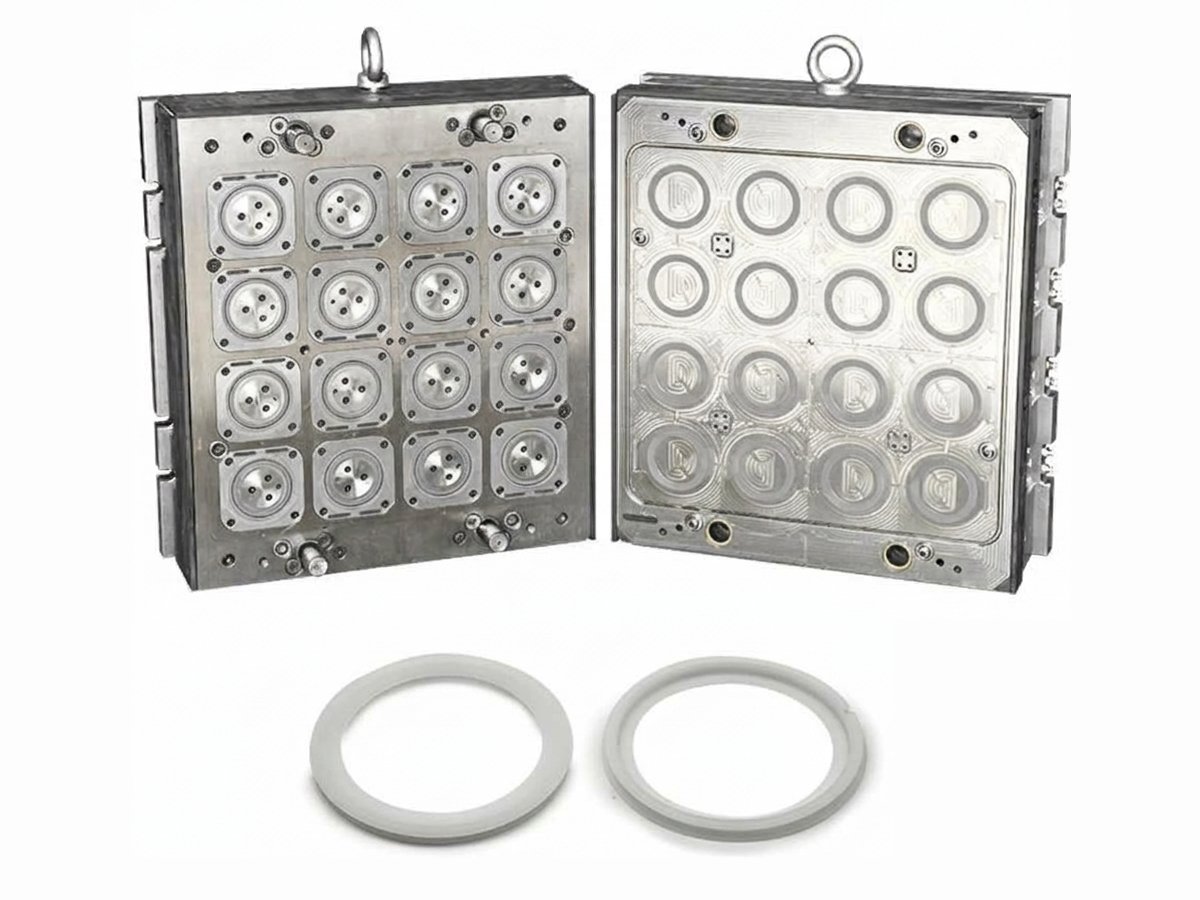
For example, a flat silicone gasket may need only a simple two-plate mold, while one with an undercut groove may require a side action and additional machining. The added complexity increases the mold cost.
What Goes Into a Mold Cost
Mold cost depends on several factors, including mold material, part complexity, mold structure, and expected production volume. Material selection is a good starting point.
Mold Material
Mold material affects tooling cost, machining time, wear resistance, and service life. Common choices include P20 for general-purpose tooling, H13 for high-temperature applications, and S136 stainless steel for corrosion resistance and high-polish finishes. Aluminum costs less and machines faster, making it suitable for prototypes and lower-volume production.
How to Choose Between Steel and Aluminum Molds
- Production volume: Aluminum suits prototypes and short runs, while steel is generally better for high-volume production.
- Molding material: Glass-filled and abrasive compounds can accelerate aluminum mold wear. Steel is often the better choice for these materials.
- Lead time: Aluminum is faster to machine, which can shorten tooling lead time.
- Tolerance and surface finish: Steel is suitable for applications requiring tight tolerances, polished surfaces, and long-term dimensional consistency.
- Budget and future production: Aluminum reduces initial tooling costs for product testing. A steel mold may be more economical if sustained, high-volume production is expected.
Cavity Count
More cavities increase mold cost through additional steel, machining, and a larger mold base. The runner layout also becomes more complex, and the press must provide sufficient clamping force. However, costs do not rise proportionally because design and trial work are shared. A four-cavity mold typically costs less than four separate single-cavity molds and reduces tooling cost per part.
How to Choose Between Single-Cavity and Multi-Cavity Molds
- Low production volume: Single-cavity molds cost less upfront and suit prototypes, pilot runs, and small orders.
- High production volume: Multi-cavity molds spread tooling costs across more parts, reducing tooling cost per part.
- Large parts: Single-cavity molds may be more economical because multiple cavities require a larger mold base and press.
- Tight tolerances: Single-cavity molds avoid cavity-to-cavity variation, simplifying dimensional control.
- Unfinalized designs: Single-cavity molds are generally easier and less costly to modify during product development.
Part Complexity
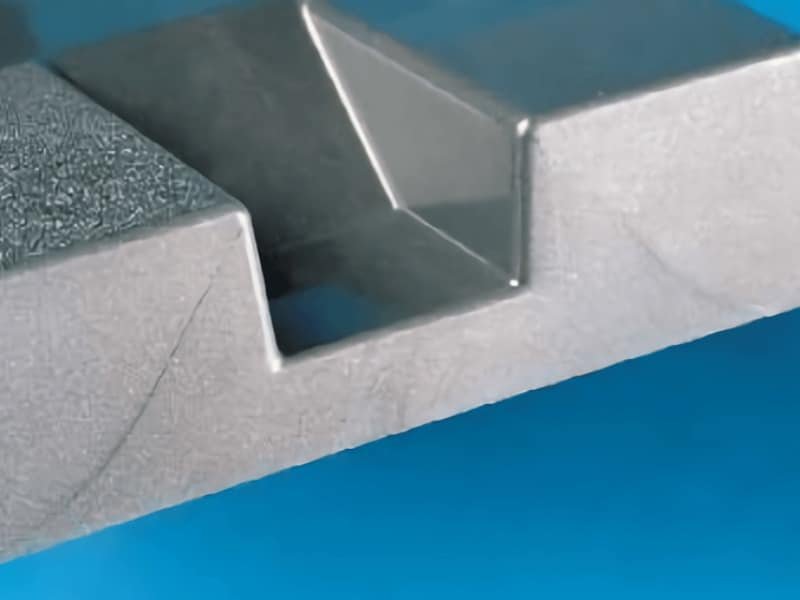
Part complexity affects mold cost through the number of mechanisms and features the tool must carry. Undercuts may need side actions or lifters, and deep ribs and fine details call for extra inserts. Thin walls need careful gate and vent design to ensure complete filling. Complex features also increase mold assembly, testing, and trial costs.
Understanding the main components and layouts of a mold helps explain how part geometry affects mold design and manufacturing.
Surface Finish and Texture
Surface finish affects mold cost through polishing and texturing work. Standard machined or lightly polished surfaces require less labor, while mirror finishes need multiple polishing stages and may require steel grades such as S136. Higher SPI finish grades generally increase costs. Textures such as leather grain or matte finishes require chemical etching or laser texturing, and may need additional draft angles for clean part release.
Machining Method and Tolerance
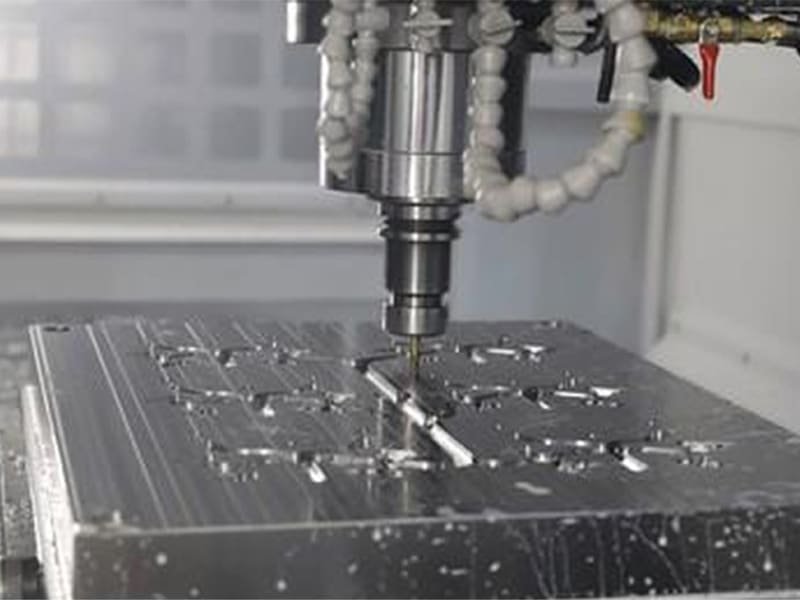
Machining methods affect both cost and lead time. CNC milling handles most cavity features, while sharp inside corners and deep, narrow slots may require EDM and custom electrodes. Tighter tolerances also increase costs through slower finishing passes, grinding, inspection, and repeated fitting. For example, holding cavity dimensions to ±0.01 mm requires more precise machining and verification.
How to Reduce Mold Cost Without Sacrificing Quality
These steps lower tooling costs through better planning and communication without compromising mold quality:
- Provide complete requirements before quoting. Share annual volume, material, tolerances, and surface finish to improve quote accuracy and avoid costly changes.
- Finalize the design before machining. Late changes can require reworking or replacing finished mold components.
- Allow sufficient lead time. Rush orders may require overtime or additional machine capacity, raising costs. If your project has a tight schedule, explore rapid tooling options to evaluate alternative tooling approaches and lead times.
- Use interchangeable inserts for related parts. Parts with minor design differences may share one mold base, reducing tooling costs.
- Keep tooling and production with one supplier. The same team can handle mold adjustments and trials, reducing transfer and correction costs.
Conclusion
Controlling mold cost starts with sound design and efficient tooling production. Zhongde handles mold design, mold tooling production, and part manufacturing under one roof, helping you manage tooling costs and maintain production consistency. Send us your requirements for a quote.