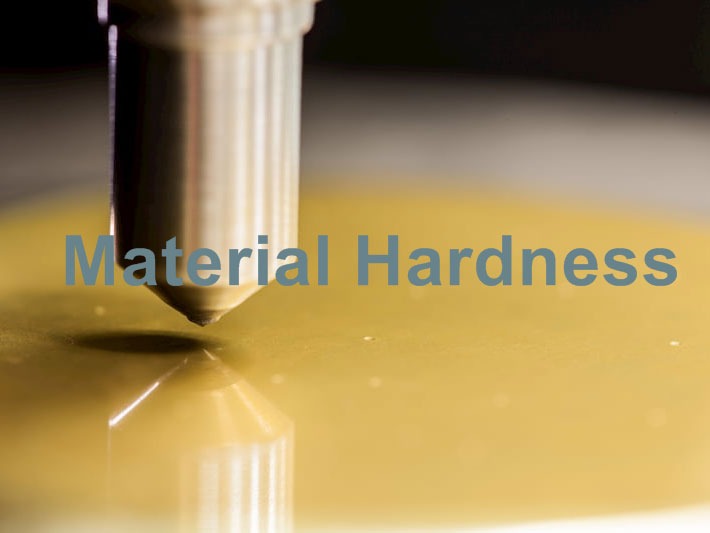
When selecting materials for custom components, understanding hardness is essential. To define hardness simply, it is a material’s ability to resist deformation, absorb impact, and maintain its shape under stress. This property directly affects product performance, durability, and cost. In engineering, knowing hardness in science helps guide material selection and manufacturing processes.
What is Material Hardness?
Material hardness refers to a material’s ability to resist localized deformation when a force is applied to its surface. This deformation can appear as indentation, scratching, or surface wear caused by contact with another object.
Hardness focuses specifically on the surface’s response under concentrated stress, rather than the overall strength of the material. This property is critical in applications where components experience repeated contact, friction, or impact.
Types of Material Hardness
Indentation Hardness
Indentation hardness describes how well a material resists being pressed into by a harder object.
In testing, a tool with a defined shape (ball, cone, or pyramid) is pressed into the material under a specific force. The size or depth of the resulting indentation is then measured.
- A small or shallow indentation → higher hardness
- A large or deep indentation → lower hardness
Scratch Hardness:
This method reflects how the material behaves under concentrated contact stress, which is common in real-world use.
For this reason, indentation hardness is the most relevant type for engineering applications.
Scratch hardness describes a material’s ability to resist being cut or plowed by a sharp object.
Unlike indentation, which involves pressing, scratch hardness involves sliding contact.
This type of hardness is more relevant for:
- Surface coatings
- Optical components
- Decorative finishes
It is less commonly used in mechanical part specifications because most engineering failures are related to compression and wear, not pure scratching.
Rebound Hardness
Rebound hardness describes how a material responds to impact by measuring how much energy it returns after being struck.
In this method, an impact body hits the material surface and rebounds. The rebound height or velocity indicates hardness:
- Higher rebound → material stores and releases energy efficiently → higher hardness
- Lower rebound → more energy absorbed → lower hardness
This type of hardness reflects elastic response, rather than permanent deformation.
How to Measure Material Hardness
Material hardness is evaluated by observing how a material resists deformation under a controlled force or contact. While many specialized techniques exist, the most widely used tests in engineering and materials applications are as follows:
Brinell Hardness
Brinell hardness is based on the size of an indentation left by a hard spherical indenter. A softer material will produce a larger indentation, while a harder material will resist deformation and produce a smaller one.
Procedure:
A steel or tungsten carbide ball (typically 10 mm in diameter) is pressed into the material surface under a fixed load (commonly 500–3000 kgf). After removing the load, the diameter of the indentation is measured using a microscope. The Brinell hardness value is then calculated based on the applied force and the indentation area.
This method is suitable for bulk materials with rough or non-uniform structures, such as castings and forgings.
Formula:
- F: applied force
- D: indenter diameter
- d: indentation diameter
Rockwell Hardness
Rockwell hardness measures the depth of penetration of an indenter under load. Instead of measuring the size of the indentation, it directly measures how deep the indenter penetrates into the material.
Procedure:
First, a minor load is applied to establish a reference position. Then, a major load is added, causing deeper penetration. After holding for a short time, the major load is removed while the minor load remains. The machine measures the difference in penetration depth, which is automatically converted into a hardness value (e.g., HRC or HRB).
Rockwell testing is fast and does not require optical measurement, making it widely used in production environments.
Formula:
- h: permanent indentation depth
- S: scale factor
- N: constant depending on scale
Vickers Hardness
Vickers hardness is determined by the surface area of an indentation made by a diamond pyramid indenter. The geometry of the indenter is constant, allowing precise comparison across different materials.
Procedure:
A diamond pyramid with a square base and a 136° angle between opposite faces is pressed into the material under a controlled load. After removing the load, the two diagonal lengths of the indentation are measured under a microscope. The hardness value is calculated based on the load and the indentation surface area.
Vickers testing is highly accurate and suitable for small parts, thin sections, and surface layers such as coatings.
Formula:
- F: applied force
- d: average length of indentation diagonals
Mohs Hardness Test
Mohs hardness is based on a material’s ability to resist scratching by another material. It is a comparative method rather than a quantitative measurement.
Procedure:
A set of reference minerals with known hardness values (from 1 to 10) is used. The test material is scratched against these references to determine which materials it can scratch and which can scratch it. Its hardness is then assigned within that range.
This method does not produce a precise numerical value and is mainly used for minerals, ceramics, or surface coatings.
Scleroscope Hardness Test
Scleroscope hardness measures the elastic response of a material by evaluating how much energy is retained after impact. Harder materials produce higher rebound.
Procedure:
A small diamond-tipped hammer is dropped from a fixed height inside a vertical glass tube onto the material surface. The height of the rebound is measured and used as an indication of hardness. No permanent indentation is typically left on the surface.
This method is non-destructive and useful for large or finished components, though it is less precise than indentation-based tests.
Hardness Units and Conversion
There is no single universal unit of hardness, as hardness is defined through different test methods rather than a unified physical quantity. In practice, a hardness unit is always tied to a specific testing approach, such as Brinell (HB), Rockwell (HRC or HRB), Vickers (HV), or Leeb (HL). Each of these scales is based on a different principle: Brinell and Vickers rely on indentation area, Rockwell measures indentation depth, while rebound-based methods such as Leeb and Scleroscope evaluate elastic response. Because these methods capture different aspects of material behavior, their results are not directly comparable through a single formula.
In engineering applications, hardness conversion is therefore based on empirical relationships rather than exact calculations. Approximate values are commonly used for reference—for example, around 200 HB corresponds to about 93 HRB, 250 HB to roughly 25 HRC, and 300 HB to approximately 32 HRC, while 700 HV is close to 60 HRC for many steels. However, these conversions can vary depending on material composition, heat treatment, and microstructure. For this reason, hardness values should always be specified together with the test method, and conversion tables should be used with caution, especially in applications where accuracy is critical.
Factors Affecting Hardness
Material Composition
The chemical composition of a material sets the foundation for hardness. In metal materials, higher carbon content or alloying elements such as chromium, molybdenum, and vanadium increase resistance to surface deformation. In plastics, fillers like glass fiber or mineral reinforcement can significantly enhance rigidity and surface hardness.
Heat Treatment and Thermal Processes
Heat treatment is one of the most effective ways to control hardness in metals. Processes like quenching and tempering transform the microstructure, creating a harder surface while balancing toughness. In polymers, controlled cooling during injection molding can increase crystallinity and surface rigidity, affecting final hardness.
Surface Engineering
Surface treatments directly modify hardness without altering the core material. Techniques such as carburizing, nitriding, induction hardening, or shot peening in metals create a hard outer layer that resists wear, while polishing or coating processes can enhance scratch resistance in plastic materials.
Mechanical Processing
Cold working, forging, rolling, or CNC machining can influence hardness by refining grain structure or introducing residual stress. These processes often increase surface hardness and wear resistance but must be carefully controlled to avoid brittleness or micro-cracks.
Conclusion
Material hardness determines how a material withstands surface deformation and influences component durability. Selecting the right material and understanding its hardness is essential for reliable performance. At Zhongde, we help customers choose suitable materials and manufacturing processes for custom components. Contact us today to find the optimal solution for your project.


