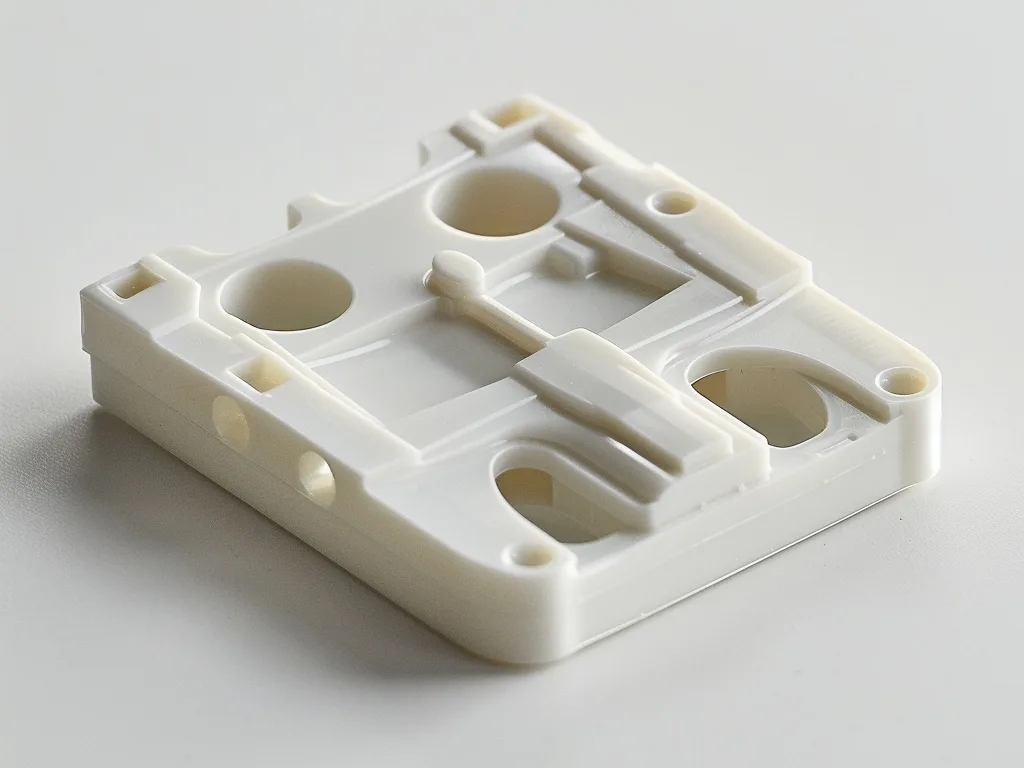
Injection molding holes are essential features in the manufacturing of plastic parts, enabling functionality such as fluid passage, electrical connections, and assembly points. From blind and stepped holes to through holes and counterbored designs, each type presents unique design challenges and considerations that impact both the moldability and performance of the final custom molded product.
Blind Holes
A blind hole is a hole that does not go all the way through the part, terminating at a specific depth within the material. This type of hole is commonly used in applications where a complete through-hole is unnecessary or where a mounting point is required for inserts or fasteners.

Design Considerations with Blind Hole
- Depth and Diameter: The depth-to-diameter ratio is a critical factor in blind hole design. A higher depth relative to the diameter can result in issues such as material flow problems and poor mold filling. Generally, it’s advised to keep the depth-to-diameter ratio below 3:1 to ensure efficient molding and part integrity.
- Ventilation: Blind holes may require venting to allow air to escape during the injection process. Without proper ventilation, air pockets can form, leading to defects such as burn marks or incomplete filling.
- Material Flow: The material must flow smoothly into the blind hole without creating voids or inconsistencies. Narrower diameters can be challenging for material flow, and special care must be taken during mold design to manage this.
Stepped Holes
A stepped hole Injection molding consists of two or more distinct diameters within the same hole, typically used to accommodate different components such as bushings or to provide a secure mounting area for fasteners. This design is often seen in parts requiring multi-stage assembly or where multiple functions need to be performed in the same hole.

Design Considerations with Stepped Holes
- Precision: Stepped holes require precise control over the diameters at each stage of the hole. Variations can lead to poor fitment of inserts or fasteners.
- Tapered Edges: The transition between diameters should be gradual to avoid stress concentrations, which can lead to part failure. Sharp transitions can create weak points in the part.
- Tooling Complexity: Producing stepped holes may require additional tooling or core pins to create the different diameters within the same hole. This adds complexity to the mold design but is necessary for achieving the desired feature.
Through Holes
Through holes are the most common type of hole in injection-molded parts, extending completely from one side of the part to the other. These holes are essential for various functional applications, including fluid passage, electrical connections, and mechanical fasteners.

Design Considerations with Through Holes
- Alignment: Through holes must be precisely aligned, especially in parts that will be used in assemblies. Any misalignment can lead to challenges during post-processing or assembly.
- Draft Angles: It is essential to incorporate slight draft angles to facilitate easy ejection of the part from the mold. While through holes do not typically require significant draft angles, they should be enough to reduce friction and prevent the part from sticking to the mold.
- Material Flow and Venting: Similar to blind holes, through holes require careful consideration of material flow. Venting may be needed to ensure the material fills the entire cavity, especially in parts with narrow or deep through holes.
Countersunk Holes
A countersunk hole has a conical shape, designed to allow for a flat-head screw or fastener to sit flush with the surface of the part. Countersinking is a critical feature in parts that need to accommodate fasteners while maintaining a smooth surface finish.

Design Considerations with Countersunk Holes
- Angle of Countersink: The angle of the countersink should be carefully selected based on the type of fastener used. A common countersink angle is 90°, but other angles may be used depending on the screw or fastener specifications.
- Material Flow and Filling: When designing countersunk holes, the mold must ensure the material fills the countersink completely, which can be challenging depending on the geometry. A well-designed mold with appropriate venting is crucial to prevent air entrapment.
- Surface Finish: Since countersunk holes are typically visible in the final part, maintaining a clean, smooth finish is essential. The mold design should consider this aspect to minimize post-processing.
Counterbored Holes
A counterbored hole is similar to a countersunk hole but features a straight, cylindrical section below the conical surface. This type of hole is commonly used to house bolts or other fasteners where the head of the fastener sits inside the hole.

Design Considerations with Counterbored Holes
- Depth and Diameter: The depth and diameter of the counterbore should match the size of the fastener head to ensure a proper fit. It is important to ensure that the counterbored section does not interfere with the flow of material during the molding process.
- Tooling and Core Pins: Creating counterbored holes in injection molding often requires additional tooling, such as core pins, to form the cylindrical section of the hole. This adds complexity to the mold design.
- Ejection and Tolerances: As with other types of holes, counterbored holes must have proper draft angles to facilitate part ejection. Additionally, maintaining tight tolerances is crucial to ensure the fastener fits securely.
Threaded Holes
Threaded holes are common functional structures in injection molded parts, used to accommodate screws or bolts for fastening, positioning, or removable connections. Compared to metal parts, plastic threaded holes are lightweight and flexible to mold, making them suitable for applications such as housings, covers, or mounting bases.
Do you want to know more about tapped hole vs threaded hole?
Threaded Hole Design Considerations
- Selecting Thread Specifications: Select the appropriate thread form, pitch, and hole diameter based on the operating torque and load to avoid slippage due to undersize or loosening due to oversize.
- Wall Thickness and Thread Depth: The hole must have sufficient wall thickness around it. Too shallow a depth can easily cause stripping, while too deep increases molding difficulty.
- Chamfers and Lead-Ins: Designing lead-in angles at the hole opening can reduce the risk of misalignment or scratching during assembly.
- Material Strength and Wear Resistance: Glass fiber reinforcement or high-strength resins can improve thread durability and prevent damage after repeated assembly and disassembly.
- Inserts or Secondary Processing: Metal inserts or secondary tapping can be used when high strength is required.
Common Defects of Injection Molded Holes in Plastic
Improper hole design or machining in injection molded parts often lead to problems such as flash, sink marks, and deformation.
Flash typically appears around the hole opening, often caused by insufficient sealing or poor venting at the mold mating surface. This not only affects appearance but can also hinder subsequent assembly. Sink marks often occur in areas of thicker material around the hole, where insufficient shrinkage compensation can lead to surface depressions. Hole deformation or diameter deviation is often related to uneven cooling, inaccurate shrinkage estimation, or insufficient mold machining precision, potentially preventing smooth part assembly. Furthermore, bubbles or voids within the hole can reduce structural strength.
Addressing these issues typically requires optimizing hole layout and wall thickness during the design phase, properly positioning vent holes and gates, and controlling molding parameters. Zhongde assesses the manufacturability of the hole structure before mold creation to proactively mitigate these defects.
Assembly Considerations for Injection Molding Holes
Injection-molded holes are often used for positioning, fastening, or as functional channels. To ensure accurate fit and long-term durability during assembly, pay attention to the following aspects:
- Hole size and positional tolerance: Must match the mating component precisely. Shrinkage compensation should be addressed during mold design to avoid looseness or excessive tightness in assembly.
- Wall thickness around the hole: Thin walls are prone to cracking during fastening, while overly thick sections may lead to sink marks or deformation. A balanced wall thickness is recommended.
- Chamfers and lead-in design: For holes used with screws or pins, adding chamfers or lead-in angles helps ensure smooth insertion and prevents scratching during assembly.
- Hole spacing and stress distribution: In multi-hole designs, maintain sufficient spacing to prevent stress concentration that can cause cracks over time.
- Allowance for secondary operations: If post-processing such as tapping or reaming is required, reserve extra material and verify fit during the trial molding phase.
Conclusion with Molding Holes
Injection molding holes plays a pivotal role in the functionality and quality of plastic molded parts design. Whether you are incorporating injection molding through holes, blind holes, stepped holes, or other hole types, each requires careful consideration of design factors such as size, placement, and moldability.


