Before a plastic part ever reaches mass production, it usually has to go through one critical step: prototyping.
A CAD model may look perfect on screen, but once it is translated into a physical part, issues related to fit, strength, assembly, or manufacturability often start to appear. A good prototype helps identify design issues early, reduce development risk, and shorten the path to production.
If you are currently refining a product idea or preparing for production, the question is simple: does your design already work in practice, or only in theory?
What Is Plastic Prototyping Manufacturing?
Plastic prototyping manufacturing is the process of producing early-stage plastic parts to evaluate a product’s design before full-scale production. These parts are usually made in small quantities and are not intended for final use, but for testing whether the design works as expected in real conditions.
Because of this purpose, plastic prototyping can be achieved through several different processes, depending on the project stage and requirements. Each method offers a different balance between accuracy, cost, and lead time, allowing engineers and product developers to test ideas efficiently before committing to tooling and mass production.
Types of Plastic Prototyping
Plastic prototypes are not always required in every project. Different stages can be selected depending on the product’s complexity, development risk, and validation needs. In many cases, only one or two types are enough to move forward to production.
Concept Prototype
Used to quickly visualize and communicate design ideas. It focuses on shape, size, and basic appearance rather than function. Often made using 3D printing or simple machining.
Appearance Prototype
Used to evaluate surface finish, color, texture, and overall look and feel. It helps confirm whether the product meets visual and ergonomic expectations before production.
Functional Prototype
Used to test mechanical performance, assembly fit, and real-world usage. It may use production-like materials and is closer to final product behavior.
Engineering / Validation prototype
Used for more detailed testing such as stress, durability, or environmental performance. It often serves as the final step before mold development.
Common Manufacturing Processes for Plastic Prototyping
Once the purpose of the prototype is defined, the next step is selecting how it will be manufactured. Plastic prototypes can be produced using several methods, each with its own strengths depending on the development stage and testing requirements.
CNC Machining
CNC machining produces prototypes by cutting parts from solid plastic blocks. It offers high dimensional accuracy and better material properties compared to additive processes. It is often used when tight tolerances, mechanical strength, or functional testing is required.
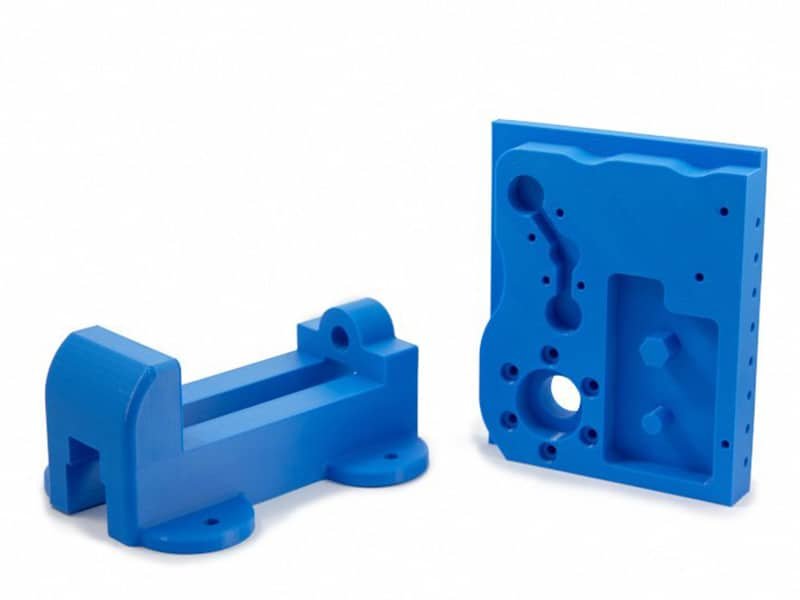
CNC Plastic Prototype
3D Printing
3D printing is widely used in early-stage prototyping because it requires no tooling and allows very fast turnaround. It is suitable for checking geometry, fit, and basic structure, especially when design changes are frequent.
However, surface finish and mechanical properties are usually different from final production parts, so it is mainly used for concept validation and early design iterations.

3D Printing Plastic Prototype
Vacuum Casting
Vacuum casting uses silicone molds to replicate master patterns, typically made by 3D printing or CNC machining. It is suitable for producing multiple identical parts with good surface finish and relatively low cost, making it useful for pre-production testing and small batch validation.
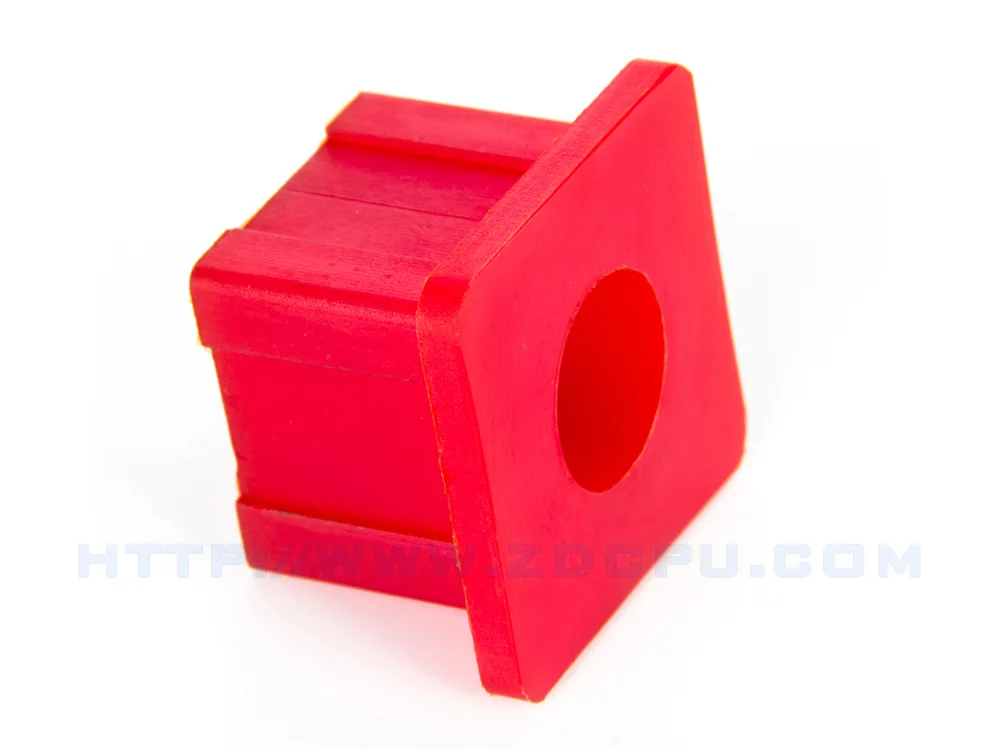
Nylon Injection Molding Service
Rapid Injection Molding
Rapid injection molding uses simplified or soft tooling to produce parts closer to final production conditions. It is suitable for design validation, material testing, and pre-production verification.
Although tooling cost and lead time are higher than other prototype methods, it provides the most realistic performance and surface quality among all prototyping processes.

Nylon Injection Molding Service
Stages of Plastic Prototyping Development
Plastic prototyping is usually a step-by-step process that starts from a digital model and gradually moves toward physical validation. In most projects, this process is flexible rather than strictly linear. Some stages may be skipped or repeated, but the overall goal remains the same: gradually reduce uncertainty before moving into mass production.
Start from the CAD Design
Everything begins with a CAD model. This is where the product shape, structure, and basic dimensions are defined. At this stage, the focus is on design intent rather than manufacturability, and changes are still relatively easy to make.
Before moving forward, the CAD file is often reviewed to check key aspects such as wall thickness, assembly feasibility, and potential interference between parts.
Create a Digital Simulation or Design Review Model
In some cases, the CAD model is used to generate a visual or simulation model for early evaluation. This helps designers and stakeholders understand how the part will look and fit in context, even before anything is physically made.
It is a low-cost step that helps reduce misunderstandings and align expectations early in the process.
Produce a Physical Prototype
Once the design is stable enough, a physical prototype is made using a suitable manufacturing method such as 3D printing, CNC machining, or vacuum casting.
This stage allows the design to be tested in real conditions. Fit, assembly, surface quality, and basic function can all be evaluated more accurately than in a digital environment.
Test, Evaluate, and Refine
After receiving the prototype, the next step is testing and feedback. Depending on the product, this may include assembly checks, functional testing, or user evaluation.
Based on the results, the design may be adjusted and another iteration of prototyping may be carried out. This loop continues until the design is ready for production.
FAQs of Custom Plastic Prototyping
Start A New Project Right Now!